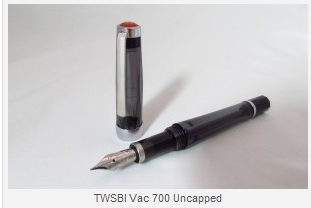
Back in July I purchased the TWSBI Vac 700 Fountain Pen with an EF nib and smoke body, then promptly forgot that I had it until a few weeks ago. Of all the office supplies to neglect, this should never happen with a fancy new fountain pen like this, especially since I think I even told all of you that are email subscribers that the review would be forthcoming.
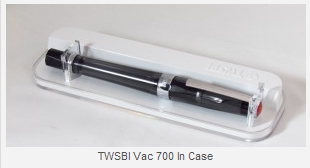
Just like the rest of the TWSBI Fountain Pen line, the TWSBI Vac 700 comes in the modern looking acrylic case, which although I like it, it sometimes reminds me of the tomb that Vladimir Lenin has been on display in for the past few decades. It has two clamps that lock the pen into place, and a clear acrylic top that lets you see into the case which I removed for the purposes of this photograph.
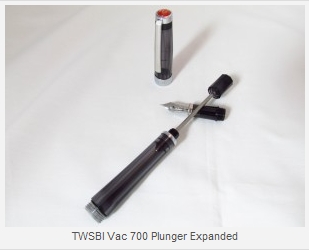
As the name implies, the TWSBI Vac 700 fountian pen uses a vacuum filling system to load the pen up with ink, and in this case the ink chamber holds a TON of ink. The above view shows the pen with its major components expanded and removed so you can get a sense of how it works, but there is also a video a little lower to show you how to fill the pen completely as well.
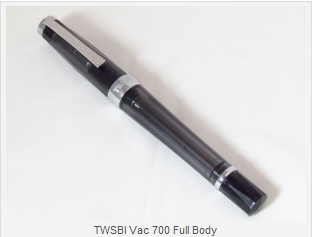
With the cap fixed on the body of the TWSBI Vac 700, it is slightly bigger than the TWSBI 540 by about 1/4″ however with the cap removed and just comparing the bodies of the two, they are both the same length. The body of the TWSBI Vac 700 has a bit of a flare that tapers out as you get towards the grip section, and the nib is physically slightly larger as well, although the EF nib writes the same size as the smaller EF nib on the 540.
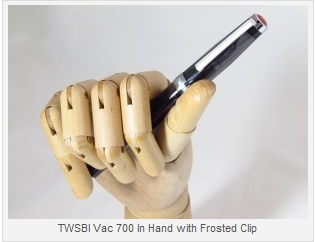
One other slight difference between the TWSBI Vac 700 and the 540 is that the 540 has a polished clip, while the Vac 700 has a frosted clip that you can see in the photo above. So with the visual and physical comparisons out of the way, lets take a look at how you can get a full fill on your TWSBI Vac 700:
Essentially you just fill the pen once, flip it over to move the air bubble to the top towards the nib and push the plunger slowly to force the air bubble out. Once you have done that you will need to hold onto the plunger because it will want to push back out, but then just dip the nib back into your ink and do as you did before to fill the gap that was made when you removed the air bubble. Generally I've found that doing this one time will pretty much get the ink chamber about 95% full, you could go ahead and do it a second time to try for that 100% fill, but to me its not worth the possibility of possibly shooting ink out of the nib and making a mess just for that little extra bit of capacity.


