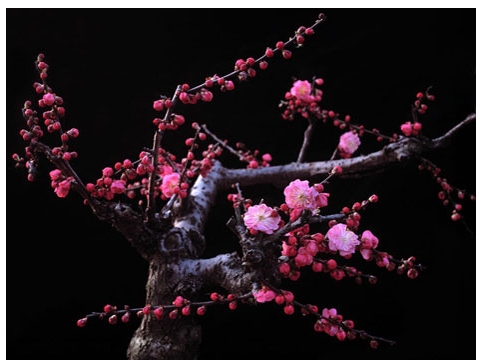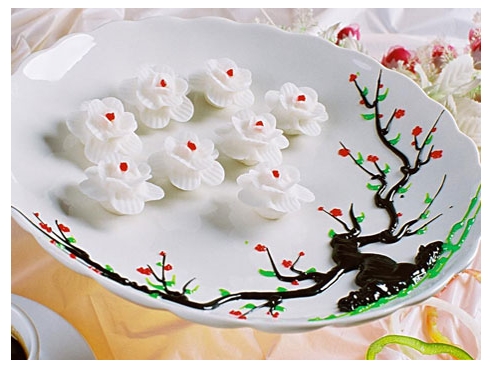
The Chinese enjoy fireworks and have age old traditions that continue to be a part of the celebrations. However, good food, family, friends and good times are the basis for the celebration. The plum blossom is used to decorate their homes during the Chinese New Year and year around. Plum blossoms are also found on dishes, serving pieces and other home decor. Plum blossoms are a sign of good luck and indicated a good harvest for the year.

Plum Blossom Greeting Card
Supplies needed: Card stock, four petal blossom paper punch, white, pink or deep red craft paper, brown marker, pencil or crayon, tweezers and white craft glue.
Step One: Fold a piece of card stock in half horizontally. You can let your child choose the color she wants.
Step Two: Show your child to how to punch out petal shapes with the paper punch. Punch 30 with a 1/4 to 1/2 inch punch or 15 to 18 with a one-inch punch.
Step Three: Instruct the child to draw a branch with twigs on the card cover with marker, colored pencil or crayon.
Step Four: Squeeze a small amount of glue on to a recycled plastic yogurt or similar size small container lid.
Step Five: Help the child grasp a petal with the tweezers and dip the back of it into the glue. Place the petals on the colored branch on the card. Let the petals dry thoroughly.
Step Six: Encourage the child to write a greeting on the interior of the card and Happy Lunar or Chinese New Year on the cover. The child can add color to the center of the plum blossoms and glue leaf to the branches.
Chinese New Year Plum Branch
Supplies needed: White, pink and red crepe or tissue paper. A nice looking small branch or sturdy twig that has fallen from a tree. White craft glue, small container, such as a recycled can or plastic bottle, craft clay or foam, glass marbles, pebbles and sand, scissors and a pencil with eraser attached.
Step One: Glue craft foam or mold clay to secure it to the interior bottom of the container. Add pebbles, glass marbles or sand to weight the container down and keep it from tipping over. Push the end of the tree branch or twig into the center of the foam or clay to secure it well.
Step Two: Cut out circles from the crepe or tissue paper that is approximately 1/2 to one-inch in diameter around. There is no need for perfection, just have fun.
Step Three: Squeeze glue on to a recycled plastic container lid.
Step Four: Set a paper circle on the flat work surface. Place the pencil with the eraser directly against the center of the petal. Wrap the excess paper around the end of the pencil.
Step Five. Hold the paper wrapped eraser against the glue on the plastic lid. Dip the wrapped eraser into the glue while holding the paper wrapped against the eraser and pencil end.
Step Six: Press the glued paper against the tree branch or twig. Let the glue seep on to the bark a bit while firmly holding the pencil against the surface. Slowly pull back on the pencil while releasing the wrapped paper from your fingers. The newly formed blossom should hold against the twig. (If it falls off easily there is too much glue. Simply place it against the bark again.) This could be done with a glue gun but that is not considered safe for young children.


